Arduino IDE - Adding Engimusing Boards
Install the standard IDE:
The open source Arduino IDE lets you easily write code and upload it to Engimusing modules. First you need to install the IDE. Arduino IDE installation instructions can be found at Install the Arduino Desktop IDE. Follow those directions until you reach the “Proceed with board specific instructions section”. At that point return to these directions.
After you get the standard IDE installed you will need to do board specific configuration for the Engimusing boards.
Engimusing specific configuration:
When you run the IDE the first time you will see something like:
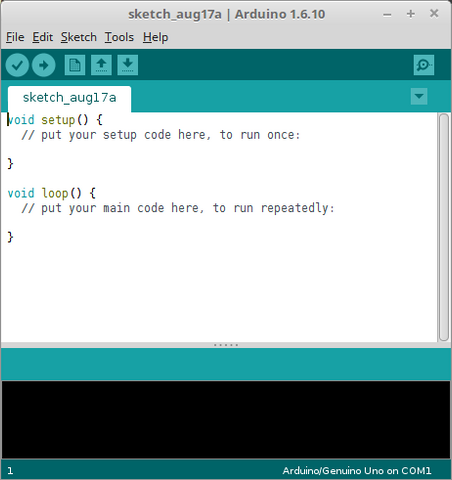
The bottom right of the window shows the board that is being used by the IDE. We need to change things so it uses the Engimusing board you have.
To do this you first go to File -> Preferences to open this:
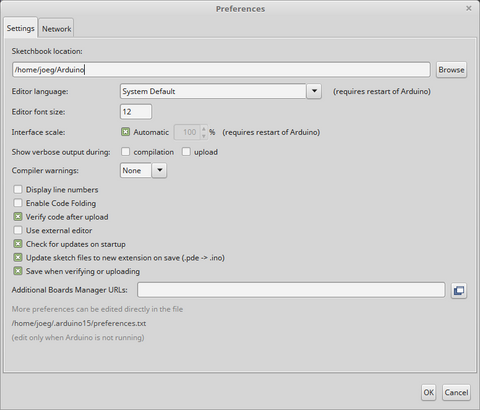
Copy the following line into the "Additional Boards Manager URLs" box:
https://engimusing.github.io/arduinoIDE/package_engimusing_modules_index.json
Then click OK.
Next go to Tools->Board"..."->Boards Manager
The Boards Manager window should come up.
Drag the scroll bar to the bottom, click on the Engimusing entry, and you should see:
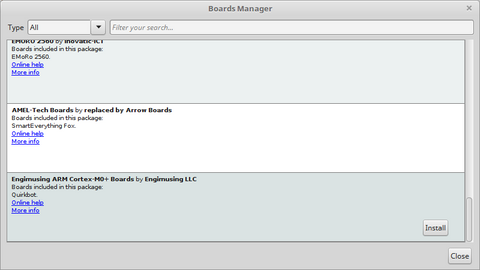
Click on Install to install the Engimusing boards.
When the installation is complete close the Boards Manager.
Now if you go to Tools->Board:"..." and scroll to the bottom you will see the Engimusing boards listed and you can select the board you want.

I selected the EFM32ZGUSB board and you can see it at the bottom right of the window.
If you click the checkmark at the top left below File you can verify that the code compiles.
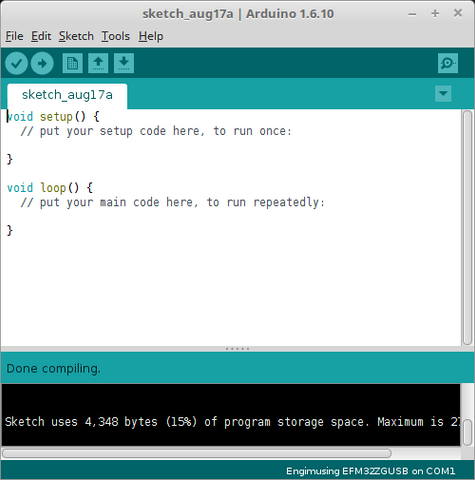
If you see that the Sketch is "Done compiling" without errors the IDE and Engimusing tools are installed correctly.